How to Build a PCB Sandcastle That Lasts
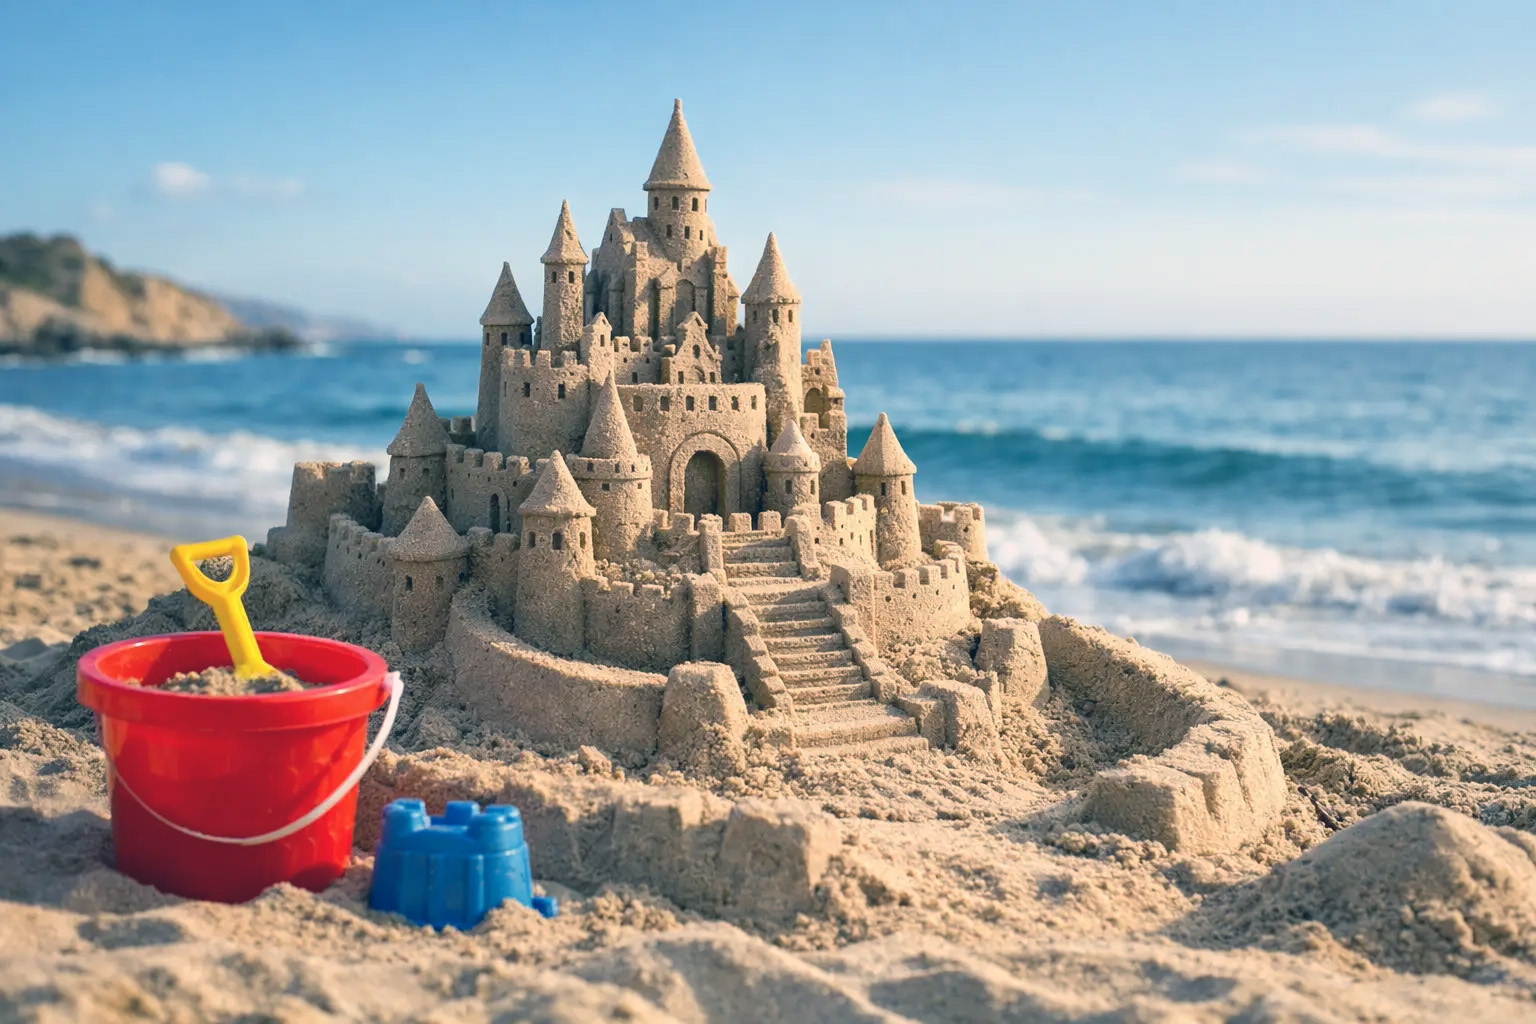
Emerald Beach Properties can help you find your perfect "sandcastle" in Panama City Beach, FL. Our vacation rentals are either beachfront or just a short walk to the beach so you can head on down and build a real sandcastle to make some amazing beach memories. Here are some tips for building that amazing sandcastle that will last!
A good sandcastle usually fails for one simple reason: the sand is too dry, the water is too far away, or the builder starts decorating before the base is stable. If you want to know how to build a sandcastle that actually stands up for more than a photo, the process matters more than the bucket size.
On beaches like Panama City Beach, where families can spend hours near the shoreline, sandcastle building is part activity, part engineering and a lot of creativity. The best results come from choosing the right spot, getting the sand-to-water mix right, and building in stages. Fancy tools can help, but they are not the deciding factor.
## How to build a sandcastle with a strong base
Start close enough to the water that you can carry wet sand without turning the job into a chore, but not so close that the next incoming wave takes out your work. Mid-beach is usually the safest choice. You want sand that is easy to wet and compact, with enough moisture to hold together when squeezed in your hand.
The base is where most castles are won or lost. A wide, packed foundation supports towers, walls, and carved details. If the bottom shifts or dries too fast, everything above it becomes fragile.
Begin by marking out a large circle, square, or mound. Then pile wet sand higher than you think you need. Compact each layer with your hands, feet, or the flat bottom of a bucket. Press firmly. Loose sand traps air, and air pockets lead to collapses.
A common mistake is pouring on water after the shape is already built. That can wash away edges and weaken the structure. It is better to mix water into the sand as you build, aiming for sand that packs densely without becoming soupy. If it slumps like mud, it is too wet. If it crumbles at the edges, it needs more water.
## The right sand-to-water mix
There is no perfect ratio that works in every condition because beach sand changes from one stretch of shoreline to another. With the soft, sugar white sands of Panama City Beach, the rule is simple: use more water than most people expect, then compact the sand thoroughly.
Wet sand holds together because a thin film of water forms bonds between sand grains. That is why dripping-wet sand can be easier to stack than damp, barely moistened sand. The trade-off is control. If the mixture is saturated, you need to let it settle before shaping it.
An easy field test works well. Grab a handful and squeeze. If it forms a firm clump and keeps its shape when turned out into your palm, it is ready. If it breaks apart, add water. If water runs out between your fingers, add more sand.
For families building with children, this is the stage worth slowing down for. Once the mix is right, the rest gets easier and more fun.
## Build upward in layers, not all at once
Tall towers look impressive, but height should come after stability. The strongest sandcastles are built from the bottom up in compacted sections. You can use buckets, cups, or simple hand-stacking methods.
If you are using buckets, fill them with very wet sand, tap the sides lightly, then invert them onto the base. Leave the bucket in place for a moment before lifting it straight up. Twisting usually damages the shape. For larger towers, stack the biggest forms first, then add smaller ones around and above them.
This is where patience pays off. Every new section should sit on fully compacted sand, not on loose decoration or uneven ridges. If a lower tier shifts even slightly, the upper portion may crack later, even if it looks fine at first.
For a classic castle shape, build one large central mound and place smaller towers around it. Connect them with thick walls instead of thin lines of sand. Thick walls are more forgiving, especially on warm afternoons when the surface starts drying quickly.
## Simple tools help, but technique matters more
You do not need a full sculpting kit to get good results. A bucket, a small shovel, and your hands are enough for a solid build. A few items can improve detail work, though. A plastic knife can cut clean edges. A plastic spoon can scoop windows and arches. A straw or small stick can define lines and drainage channels. Please don't take the kitchen utensils from your vacation rental to the beach to use for sandcastle building since you'll need them later for having breakfast, lunch or dinner. Pick up some disposable plastic utensils when you go out to eat for sandcastle building tools.
What matters most is how you use the tools. Cut downward with clean, controlled motions. Scraping too aggressively pulls grains loose and roughens the surface. When carving towers, start at the top and work down. That keeps falling sand from ruining finished details below.
Water is also a tool. Keep a small bucket nearby and use your hand to drip or pat moisture onto areas that begin drying out before you finish shaping them. A light touch works better than pouring.
## Carving details without collapsing the structure
The safest time to add detail is after the main structure is built and compacted. Do not rush into doors, battlements, and bridges while the base is still soft. At that stage, detail work often becomes accidental demolition.
Start with shallow cuts. Deep carving removes support, especially on narrow towers. If you want windows or arches, make them smaller than your first instinct. Sand can suggest detail without full cut-through openings. A shallow doorway often looks better and lasts longer than a tunnel.
For battlements, press evenly spaced notches into the top edge of a tower with a spoon or knife. For stone-like texture, stipple the surface lightly with fingertips. For a moat, dig it wide enough to be visible but far enough from the base that it does not undercut your walls.
This is one of those areas where it depends on conditions. On a cool, humid day, fine detail can hold well. Under strong sun and wind, simpler lines usually survive longer.
## Protecting your sandcastle from common problems
Even a well-built sandcastle is temporary, but a few decisions can extend its life. The first is placement. Avoid low spots where runoff or rising tide will reach the structure. Before you build, take a minute to watch the waterline. Beaches can change quickly, and a spot that looks safe at one moment may not stay safe.
The second is thickness. Thin walls, tall narrow towers, and deep undercuts fail first. If you are building with kids, thicker shapes are not just easier, they are more successful. The castle may look less delicate, but it will usually last longer and photograph better.
The third is moisture management. Drying out is often a bigger threat than waves. If the outer layer gets brittle, a small touch can crack the surface. Lightly re-wet exposed areas as needed, especially on hot afternoons.
Foot traffic is the final issue. Build far enough from walkways, chairs, and active game areas that your project is not in the path of a football, cooler, or distracted beach walker.
## How to build a sandcastle with kids
When children are involved, the best approach is to simplify the goal and make the process visible. Instead of aiming for a highly carved castle, focus on one large mound, a few towers, and a moat. That creates quick wins and keeps attention from fading before the structure takes shape.
Give younger kids jobs that match the build sequence. Carrying water, filling buckets, packing sand, and [placing shells](https://emeraldbeachproperties.com/blog/shelling-modern-day-treasure-hunting/) are useful tasks. Older kids usually enjoy carving and design choices once the structure is stable.
It also helps to set expectations early. A beach build is not permanent, and that is part of the appeal. The point is to make something impressive, enjoy the process, and get the picture before nature edits the work.
For families staying on or near the Gulf, sandcastle time can become the easiest part of the day to organize. It does not require reservations, screens, or much equipment. Just a little planning and a willingness to build the base correctly.
## A better sandcastle result with less frustration
The difference between a collapsing pile of sand and a satisfying castle is usually not talent. It is location, moisture, compaction, and sequence. Build where the sand is workable, make the base wider than you think necessary, pack every layer, and save detail work for the end.
That approach is practical, repeatable, and forgiving enough for a family beach day. If your first version leans a little or loses a tower, adjust the mix and rebuild. Sand rewards patience more than speed, and that is part of what makes the finished castle worth the effort.
And don't forget to make that photo of your masterpiece before you go in from the beach. It may not be there when you come back!
Posted on 06/09/2026 in Beachfront, Emerald Beach Properties, Panama City Beach # Beach, sand, Sea Shells